
Choosing the Right Chest Freezer for Your DIY Cold Plunge Tub
Embarking on the journey of creating a DIY cold plunge tub entails making careful choices, starting with the right chest freezer. The essential first step is gauging the internal dimensions that would be comfortable for you. For an average person, a freezer that offers enough depth to submerge your shoulders and neck is ideal. Measuring your shoulder width and ensuring the tub provides free space on either side is crucial for a comfortable experience.
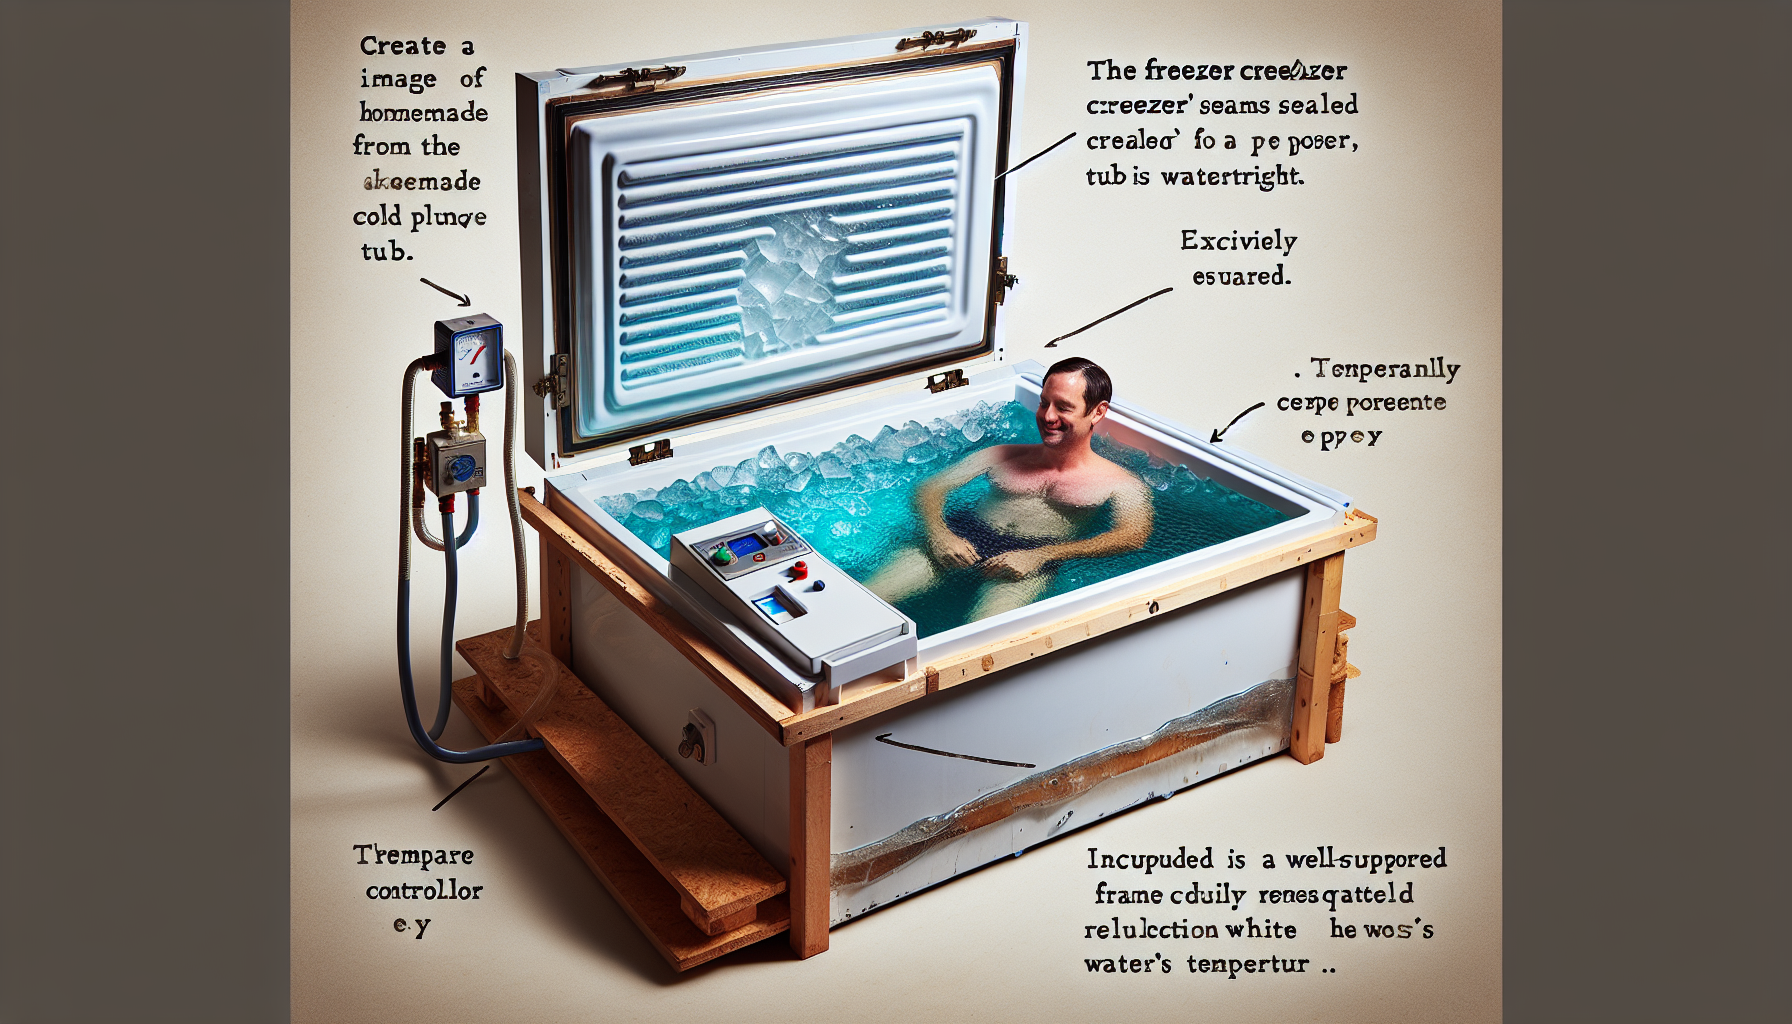
Sealing the Chest Freezer
A critical part of converting a chest freezer into a plunge tub is to make it watertight. While many might suggest simply using silicone on the seam, long-term success lies in employing a more robust method. The tried and tested method involves using epoxy like JB Water Weld on the seams, followed by a non-toxic epoxy such as Pond Shield to coat the entire interior. Sand all surfaces, apply a self-etching primer on exposed metals, and use specific rollers for epoxy application.
Temperature Control
To maintain the water in your DIY cold plunge tub at the desired temperature, a reliable temperature controller like Inkbird is indispensable. It ensures the water doesn’t turn into an ice block by allowing you to set and control the precise temperature. This controller turns the freezer on and off to keep the water at your set temperature, ideal for safe and consistent plunging.
Water Maintenance
Keeping the water clean in your DIY cold plunge tub is another essential maintenance task. Circulation pumps with filters, combined with chemical treatments, ozone, or UV light, help maintain water hygiene. You can achieve up to six weeks of clean water by managing these factors effectively.
Safety Tips for Your DIY Cold Plunge Tub
Safety should never be compromised. Always unplug the freezer before entering to prevent electrical hazards. Supporting the bottom of your freezer with foam, rubber mats, or a wooden frame is vital to handle the added weight of the water. Lastly, avoid insulating the outside of your freezer as it needs to dissipate heat effectively.